Introduction to Star Jasmine Propagation
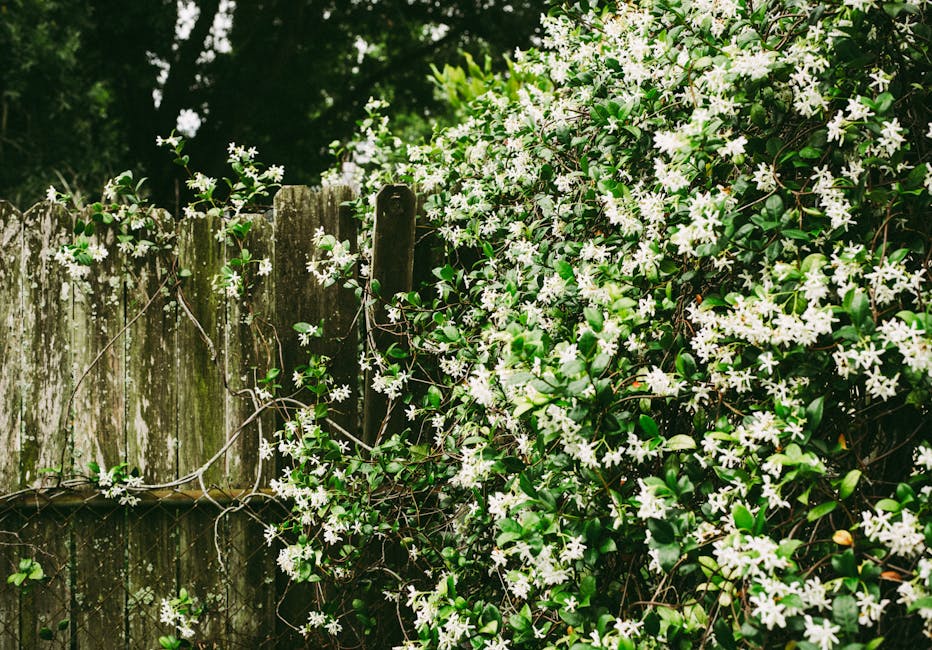
Star jasmine (Trachelospermum jasminoides), with its captivating star-shaped blossoms and intoxicating fragrance, is a beloved vine for gardens and landscapes worldwide. Its popularity stems not only from its aesthetic appeal but also its relative ease of propagation. This comprehensive guide will equip you with the knowledge and techniques to successfully propagate star jasmine, ensuring you can enjoy this beautiful plant in abundance.
Understanding Star Jasmine: Growth Habits and Requirements
Before delving into propagation methods, it’s crucial to understand the plant’s basic needs. Star jasmine thrives in well-drained soil, preferring slightly acidic to neutral pH levels. It enjoys full sun to partial shade, though excessive midday sun can scorch the leaves. Regular watering, especially during dry spells, is essential, but avoid waterlogged conditions, which can lead to root rot. Proper soil drainage is key to healthy growth and successful propagation.
Methods of Star Jasmine Propagation
There are several effective methods for propagating star jasmine, each with its advantages and disadvantages. Let’s explore the most common techniques in detail:
1. Cuttings (Stem Cuttings)
This is perhaps the most popular and straightforward method for propagating star jasmine. Here’s a step-by-step guide:
- Timing: The ideal time for taking cuttings is during spring or early summer when the plant is actively growing. This ensures higher success rates.
- Selection of Cuttings: Choose healthy, non-flowering stems about 4-6 inches long. Select stems that are firm and not overly woody.
- Preparing the Cuttings: Make a clean cut just below a leaf node using sharp, sterilized pruning shears. Remove the lower leaves, leaving a few at the top to aid in photosynthesis.
- Rooting Hormone (Optional): Dipping the cut end in rooting hormone powder can significantly improve rooting success. This powder contains plant growth regulators that stimulate root development.
- Planting the Cuttings: Plant the cuttings in a well-draining potting mix, such as a mixture of peat moss, perlite, and vermiculite. Ensure the bottom leaves are above the soil line to prevent rotting.
- Maintaining Humidity: Covering the cuttings with a plastic bag or humidity dome helps maintain high humidity, which is crucial for successful rooting. Regularly mist the cuttings to maintain moisture.
- Placement: Place the cuttings in a warm location with indirect sunlight. Avoid direct sunlight, which can dry out the cuttings.
- Rooting Time: Rooting usually takes several weeks, sometimes even a couple of months. Once roots develop, the cuttings can be transplanted into individual pots.
2. Air Layering
Air layering is another effective technique for propagating star jasmine, especially for thicker stems. This method involves rooting a stem while it’s still attached to the parent plant:
- Selecting the Stem: Choose a healthy, pliable stem that’s about 1/2 inch to 1 inch in diameter.
- Girdling: Gently scrape away a section of bark around the stem, creating a wound about 1 inch long.
- Applying Rooting Hormone: Apply rooting hormone to the wounded area.
- Wrapping with Moss: Wrap the wounded area with moist sphagnum moss and secure it with plastic wrap or aluminum foil.
- Maintaining Moisture: Keep the moss consistently moist but not soggy. You may need to water it periodically.
- Root Development: Roots will typically develop within several months. Once roots are well-established, cut the layered stem below the rooted section and transplant it into a pot.
3. Layering (Ground Layering)
This method is similar to air layering but involves bending a stem down to the ground and burying a portion of it:
- Selecting a Stem: Choose a low-growing stem that can be easily bent to the ground.
- Preparing the Stem: Make a slight wound on the underside of the stem.
- Burying the Stem: Peg the stem to the ground using a U-shaped wire or rock and cover the wounded section with soil.
- Maintaining Moisture: Keep the soil moist around the buried stem.
- Root Development: Roots should form within several months. Once roots are established, cut the stem from the parent plant and transplant it.
4. Seed Propagation (Less Common)
While possible, seed propagation of star jasmine is less common due to its lower success rate and longer time to maturity. It’s usually a less favored method compared to cuttings or layering.
Troubleshooting Common Problems
Even with careful attention, some challenges might arise during propagation. Here are some common issues and their solutions:
- Rotting Cuttings/Layers: Overwatering is the primary cause. Ensure excellent drainage and avoid waterlogged conditions.
- Failure to Root: Insufficient humidity, poor-quality rooting medium, or using overly woody cuttings can hinder rooting. Improve humidity, use a well-draining mix, and select younger, more pliable stems.
- Leaf Drop: This can be due to stress from transplanting, insufficient watering, or insufficient light. Ensure proper watering and provide adequate light.
- Pest Infestation: Regularly inspect your cuttings for pests. Treat infestations promptly using appropriate insecticides or organic pest control methods.
Aftercare and Transplanting
Once your star jasmine cuttings or layers have developed a robust root system, it’s time to transplant them. Choose a well-drained pot with adequate drainage holes. Use a high-quality potting mix that’s rich in organic matter. After transplanting, water thoroughly but avoid overwatering. Provide adequate sunlight and humidity to support healthy growth.
Conclusion: Enjoy the Fragrant Bounty
Propagating star jasmine offers a rewarding experience for any gardening enthusiast. With patience, attention to detail, and following the techniques outlined in this guide, you can successfully increase your collection of these fragrant vines. Remember to monitor your plants regularly, addressing any issues promptly to ensure optimal growth and abundant blooms.
